If you’ve ever wondered whether the classic conventional oven deserves a spot in your kitchen, you’re not alone. While air fryers and combi ovens have gained popularity, conventional ovens remain the backbone of home cooking for millions of families worldwide. Let me walk you through everything you need to know about these timeless kitchen workhorses.
Table of Contents for Conventional Oven
Understanding What Makes a Conventional Oven Different
A conventional oven is essentially a heated box that cooks food using radiant heat from heating elements. Unlike their convection cousins that circulate hot air with fans, conventional ovens rely on natural heat distribution. The heating elements—typically located at the top (broiler) and bottom of the oven cavity—generate heat that rises and surrounds your food.
According to Wikipedia, ovens have been fundamental to human cooking for thousands of years, evolving from primitive earth ovens to the sophisticated appliances we use today. The conventional oven represents a refined version of this ancient technology, combining reliability with straightforward operation.
What sets conventional ovens apart is their simplicity. There’s no fan mechanism to maintain, no complex air circulation patterns to understand. Heat comes from the elements, rises naturally, and cooks your food. This straightforward approach has made conventional ovens the default choice for generations of home cooks.
How Conventional Ovens Actually Work
The mechanics behind conventional ovens are refreshingly simple, which partly explains their enduring popularity. When you set your desired temperature and turn on the oven, electricity or gas powers the heating elements. In electric models, metal coils or heating strips glow red-hot. Gas ovens use burners that produce an open flame.
The heat generated by these elements radiates throughout the oven cavity. Because hot air naturally rises, you’ll typically find the top portion of a conventional oven runs slightly hotter than the bottom. This temperature gradient is something experienced bakers learn to work with rather than against.
The thermostat inside your oven monitors the temperature constantly, cycling the heating elements on and off to maintain your selected temperature. When the oven drops below the set point, the elements kick back on. When it exceeds the target temperature, they shut off. This cycling creates what we call temperature fluctuations—completely normal for conventional ovens.
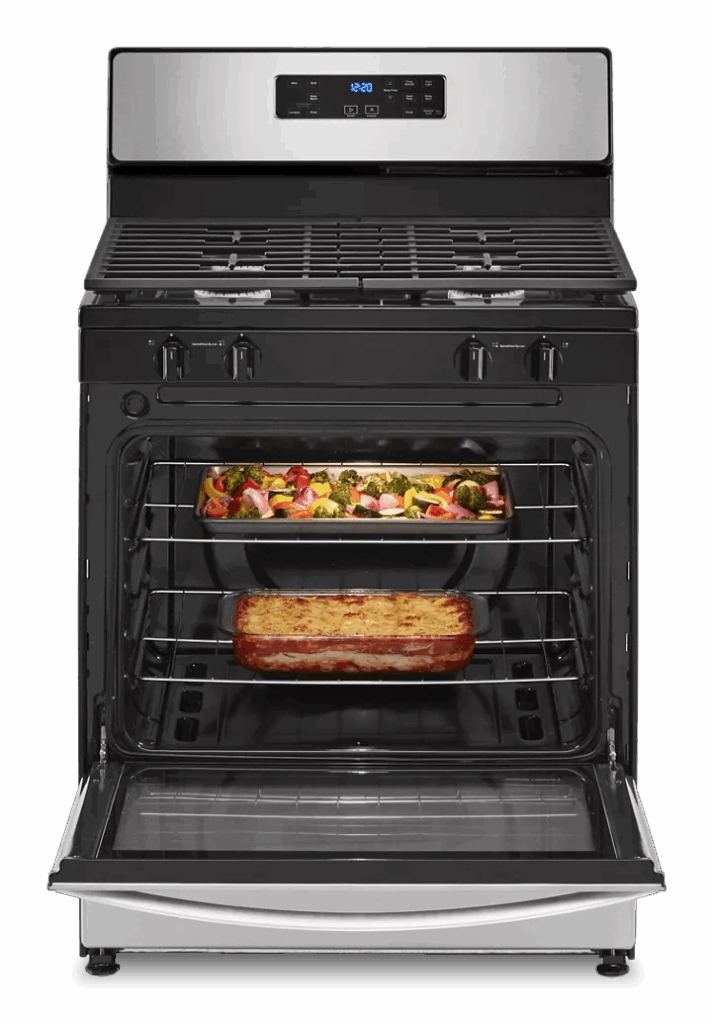
Most conventional ovens feature two main heating elements. The lower element handles most of the cooking, providing consistent bottom heat that’s perfect for baking and roasting. The upper element, often called the broiler, delivers intense direct heat from above, ideal for melting cheese, crisping casserole tops, or giving meats a final sear.
The Temperature Zones Inside Your Conventional Oven
Understanding the temperature zones in your conventional oven transforms you from a recipe-follower into a cooking strategist. Because heat rises naturally in these ovens, different rack positions offer distinct cooking environments.
The top third of your oven runs hottest—sometimes 10 to 25 degrees hotter than the set temperature. This zone excels at tasks requiring intense, direct heat. Position your dishes here when you want browning, crisping, or caramelization. Broiling obviously happens in this zone, but it’s also perfect for finishing gratins or getting that golden-brown top on your mac and cheese.
The middle zone represents the oven’s sweet spot, coming closest to your actual temperature setting. When recipes simply say “place in oven” without specifying position, they’re assuming you’ll use this middle rack. It’s the default position for most baking tasks, from cookies to casseroles, because it provides the most even, reliable heat.
The bottom third runs cooler and proves invaluable for gentle cooking. Use this zone for dishes that need thorough cooking without surface browning, like cheesecakes or custards. The slower, gentler heat prevents cracking and ensures even cooking throughout delicate items.
Learning these zones means you can adjust recipes on the fly. Recipe calling for a slightly lower temperature than you set? Move the dish down a rack. Need more browning without overcooking? Shift it up. This flexibility makes conventional ovens incredibly forgiving once you understand their quirks.
Comparing Conventional Ovens Vs Convection Models
The conventional versus convection debate divides home cooks, but understanding the differences helps you make an informed choice. As someone who’s used both extensively, I can tell you each has its strengths.
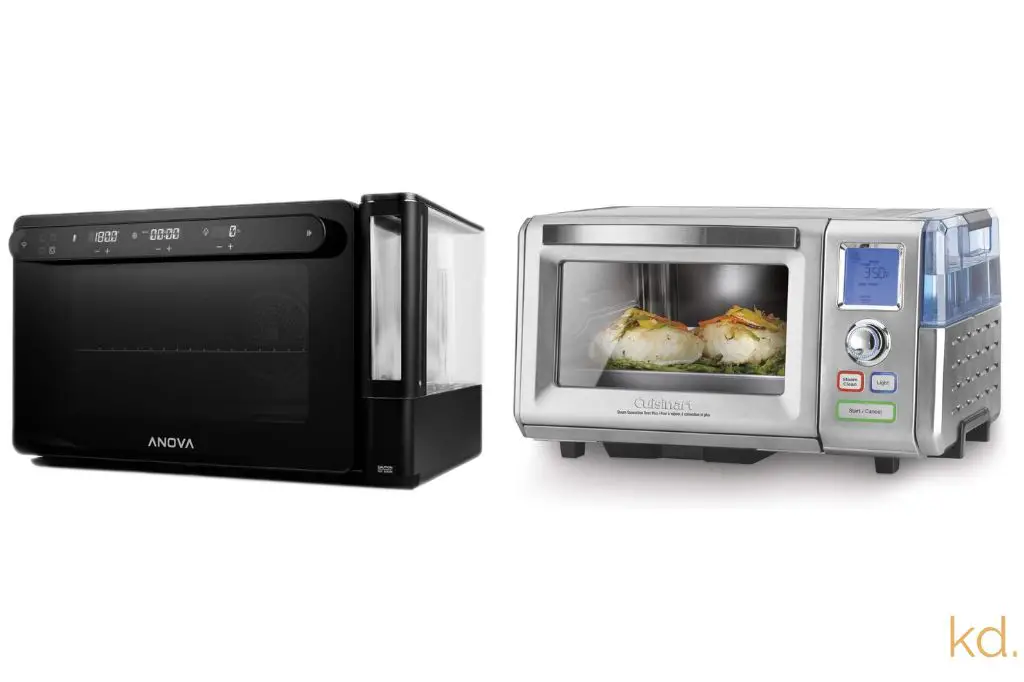
Convection ovens add a fan that circulates hot air throughout the oven cavity. This forced air circulation eliminates hot and cool spots, resulting in more even cooking. Convection also cooks faster—typically 25% quicker than conventional heat—and can handle multiple trays of cookies without rotating them halfway through. If you’re curious about how convection technology integrates into range setups, check out this guide on convection oven ranges.
However, conventional ovens offer advantages that keep them relevant. The still air in a conventional oven creates a gentler cooking environment, essential for delicate baked goods. That rising heat pattern produces superior results for certain foods. Bread gets a better initial rise in conventional heat. Soufflés and angel food cakes achieve better height without the disruptive air currents from fans.
Conventional ovens also excel at creating crispy exteriors while maintaining moist interiors—think perfect roast chicken with crackling skin. The radiant heat browns surfaces beautifully without the drying effect that constant air circulation can produce.
Cost factors into the equation too. Conventional ovens typically cost less upfront and require less maintenance. No fan motors to replace, no additional components to repair. For budget-conscious shoppers, conventional models deliver reliable performance without breaking the bank.
Selecting the Right Size Conventional Oven for Your Kitchen
Conventional ovens come in various sizes, and choosing correctly impacts both your cooking capability and kitchen layout. Standard oven sizes typically range from 24 to 30 inches wide, but understanding your needs goes deeper than measuring cabinet space.
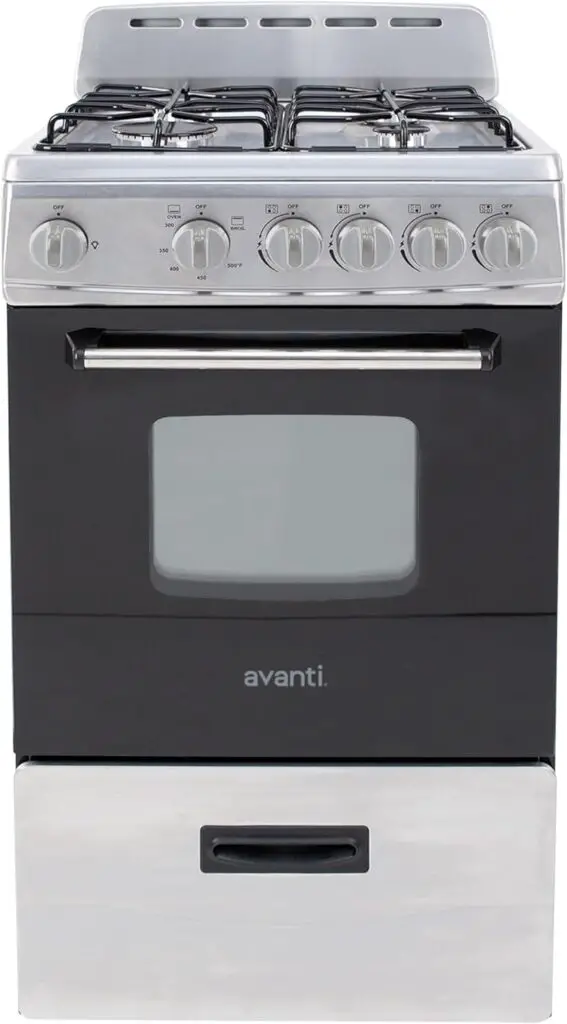
A 24-inch conventional oven fits perfectly in apartments or smaller kitchens where space comes at a premium. These compact models handle daily cooking for one or two people admirably. However, hosting Thanksgiving dinner might require creative scheduling if you’re working with limited oven real estate.
The 30-inch oven represents the industry standard for good reason. It strikes an ideal balance between capacity and footprint, accommodating a large roasting pan, multiple cookie sheets, or a full-sized turkey. Most recipes assume you’re working with this size, making them easier to follow without adjustments.
Capacity gets measured in cubic feet, with most conventional ovens ranging from 3.0 to 5.0 cubic feet. Bigger isn’t always better though. Larger cavities take longer to preheat and consume more energy maintaining temperature. Assess your actual cooking patterns before supersizing.
Consider vertical space alongside width. Ovens with five or six rack positions offer more flexibility than models with three or four. Multiple rack positions let you fine-tune temperature exposure and cook different dishes simultaneously without crowding.
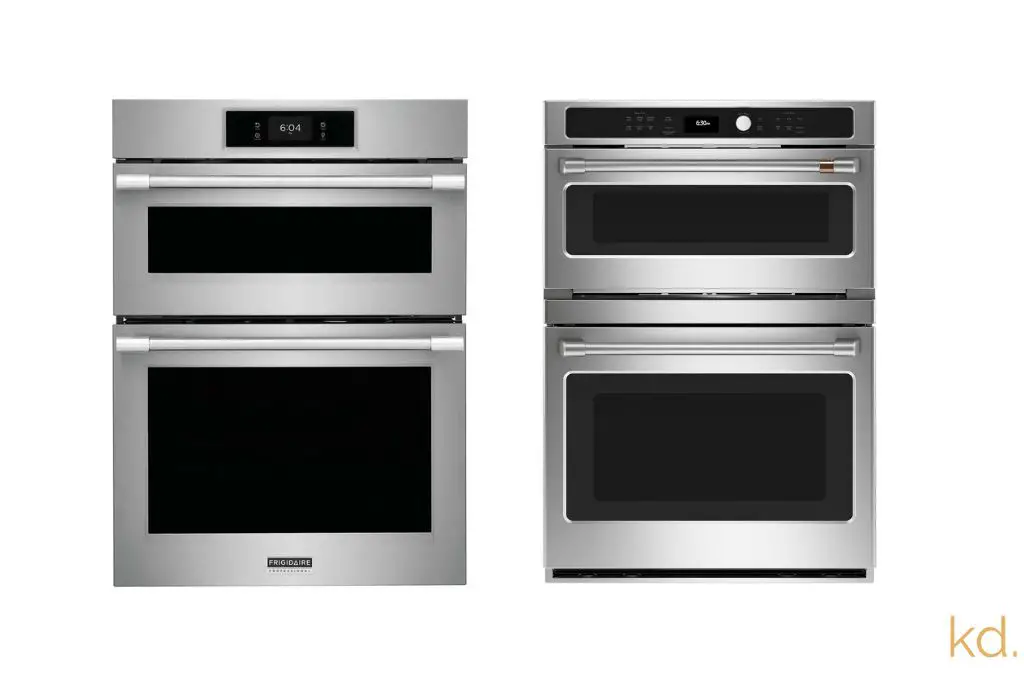
Installation Options: Built-in, Slide-in, or Freestanding
Conventional ovens come in three primary installation styles, each offering distinct advantages. Understanding these options helps you choose the right fit for your kitchen layout and renovation budget.
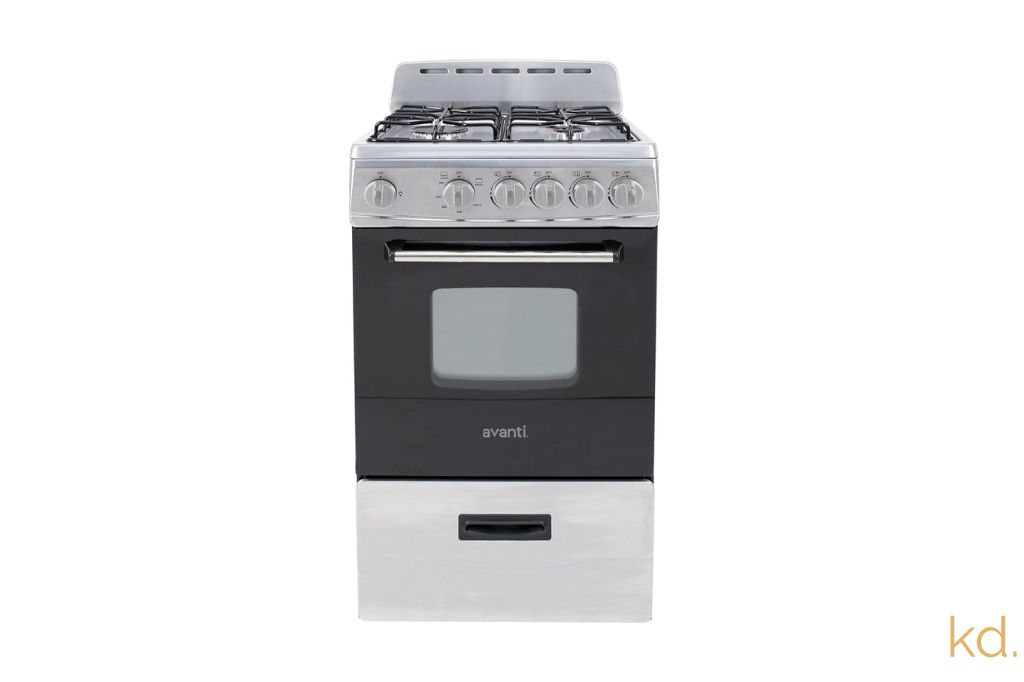
Freestanding ranges combine a conventional oven with a cooktop in a single unit that stands independently. They’re the most affordable and flexible option, fitting between base cabinets or standing alone. Installation is straightforward—slide it into place, level it, and connect the power or gas line. The finished look shows some exposed sides, but newer models feature sleek panels that look increasingly polished.
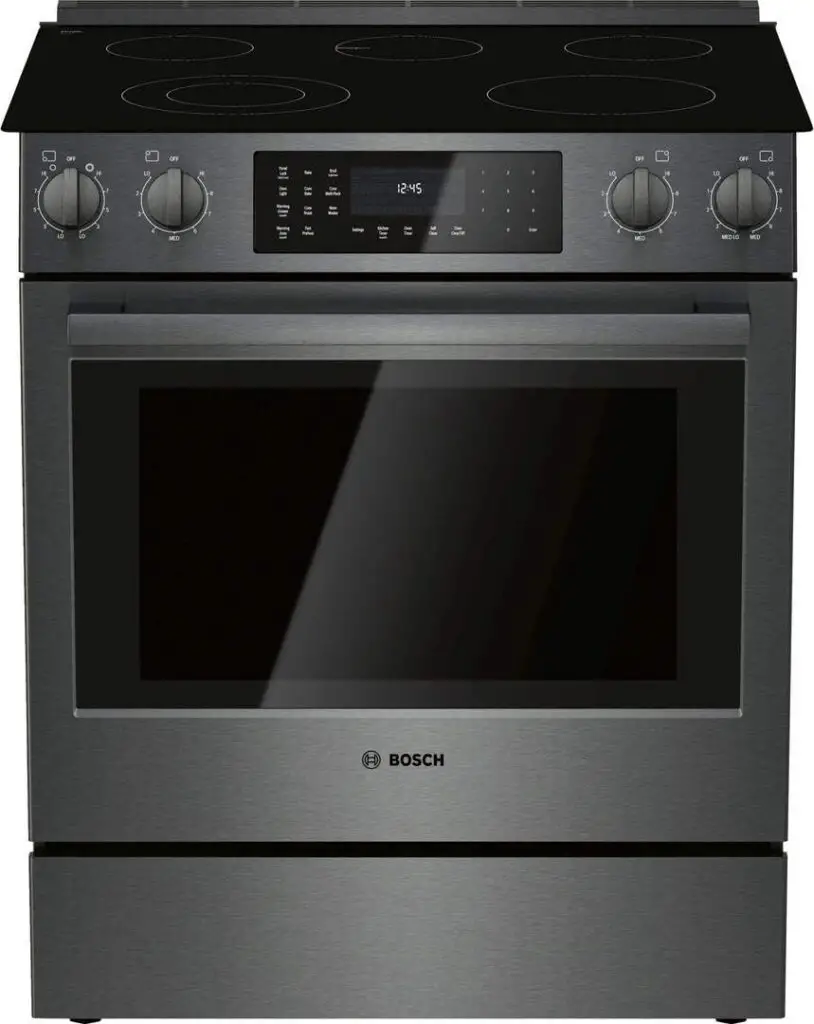
Slide-in ranges also combine oven and cooktop but eliminate gaps along the sides, creating a custom built-in appearance at a lower cost than truly built-in units. The controls typically sit on the front rather than on a backsplash, allowing the range to nestle flush between countertops. This creates clean sightlines and a high-end look without the matching price tag.
Built-in wall ovens represent the premium installation option. These single or double oven units mount directly into cabinetry at any height you choose. Many homeowners position them at eye level, eliminating bending and making it easier to monitor cooking progress. Built-ins require professional installation and cabinet modifications, driving up costs significantly.
Each installation type accommodates conventional oven technology equally well. Your choice depends more on kitchen design preferences, budget constraints, and whether you’re doing new construction or replacing existing appliances.
Breaking Down the Control Panel and Features
Modern conventional ovens pack more features than you might expect, even without the complexity of smart technology. Understanding these controls helps you maximize your oven’s capabilities.
Temperature dials or digital controls let you set precise heat levels. Analog dials offer simplicity and never require software updates, while digital displays show exact temperatures and often include preset cooking programs. Neither is inherently better—personal preference and budget guide this choice.
The timer function proves indispensable, alerting you when cooking completes without requiring you to hover in the kitchen. Some conventional ovens include multiple timers, letting you track different dishes simultaneously. Look for timers that operate independently from the oven itself—you can use them for stovetop cooking too.
Self-cleaning features come in two varieties: high-heat and steam-clean. High-heat self-cleaning locks the door and heats the oven to around 900°F, reducing food residue to ash you can wipe away. Steam-cleaning uses lower temperatures and moisture to soften spills for easier removal. High-heat cleaning is more thorough but consumes significant energy and heats up your kitchen.
Delay start lets you load the oven and program it to begin cooking at a specific time. This works wonderfully for dishes that need to finish right when you arrive home from work. Exercise caution with perishable foods though—leaving raw meat at room temperature for hours invites food safety issues.
Some conventional ovens include a warming drawer below the main cavity, maintaining finished dishes at serving temperature without overcooking. This seemingly simple feature transforms dinner party logistics, keeping side dishes hot while you finish the main course.
Energy Efficiency Considerations for Conventional Ovens
Conventional ovens consume considerable energy, but understanding their efficiency helps you minimize environmental impact and reduce utility bills. Knowledge transforms power consumption from an unavoidable fact into something you can actively manage.
Electric conventional ovens typically use between 2,000 and 5,000 watts per hour, depending on size and temperature settings. At average electricity rates, expect to pay roughly $0.50 to $1.00 per hour of cooking. Gas ovens cost less to operate—usually $0.20 to $0.40 per hour—though gas prices vary significantly by region.
Preheating represents one of the largest energy expenditures. Most conventional ovens take 10 to 15 minutes to reach temperature, consuming maximum power throughout. Only preheat when recipes truly require it. Many dishes, particularly roasts and casseroles, handle starting in a cold oven just fine with slight timing adjustments.
Opening the door releases heat rapidly—as much as 25% of the oven’s retained heat escapes every time you check on dinner. Use the oven light and window instead. If you must open the door, do it quickly and decisively rather than leaving it ajar while pondering whether the casserole needs more time.
Batch cooking maximizes efficiency dramatically. Heating an empty oven for a single chicken breast wastes energy. Instead, roast vegetables alongside your protein, or prepare multiple meals worth of food at once. The oven uses nearly the same energy whether cooking one item or five.
Consider oven size relative to cooking tasks. Using a massive conventional oven to reheat a single serving makes no sense. A mini oven or toaster oven handles small jobs using a fraction of the energy. Reserve your full-sized conventional oven for tasks that require its capacity.
Best Practices for Preheating Your Conventional Oven
Preheating seems straightforward—turn on the oven and wait for the ready signal. However, proper preheating technique impacts cooking results more than most people realize.
Allow 15 to 20 minutes for full preheating, regardless of when the indicator light says it’s ready. Most ovens signal readiness when the air temperature reaches your set point, but the walls and racks need additional time to fully heat. These thermal masses store and radiate heat throughout cooking, creating stable conditions.
For baking applications requiring precise temperatures—cakes, cookies, pastries—never skip preheating. These recipes depend on immediate, accurate heat exposure to trigger proper chemical reactions. Putting cookie dough into a cold oven produces flat, greasy disappointments instead of perfectly risen treats.
Conversely, many roasting and braising recipes tolerate starting in a cold oven. Roasts actually benefit from gradual heat increase, which renders fat slowly and produces more tender results. I regularly start slow-cooked pork shoulders in cold ovens, adding 10 to 15 minutes to the total cooking time. The energy savings and improved texture make this approach worthwhile.
Use an oven thermometer to verify actual temperatures. Many conventional ovens run 10 to 25 degrees off from their displays. An inexpensive thermometer hanging from a center rack reveals the truth, letting you adjust accordingly. If your oven runs hot, you’ll set it 15 degrees lower than recipes call for. If it runs cool, you’ll compensate upward.
Position racks before preheating. Once that oven’s hot, rearranging racks means exposing yourself to blast-furnace temperatures while wrestling heavy metal frames. Decide on rack placement based on what you’re cooking, set them in position, then start preheating.
Mastering Rack Positioning for Different Foods
Rack position dramatically affects cooking outcomes in conventional ovens, yet many home cooks ignore this variable entirely. Learning to position food strategically elevates your results from adequate to excellent.
Cookies and baking sheets belong on the center rack for even browning. If baking multiple sheets simultaneously, switch their positions halfway through—move the top sheet to the bottom and vice versa. This rotation compensates for the conventional oven’s natural heat gradient.
Casseroles and baked pasta dishes typically start on the center rack. However, if you want a well-browned, bubbly top, move the dish to the upper third for the last 10 minutes of cooking. This positioning exposes the surface to more intense heat without overcooking the interior.
Roasted vegetables need bottom heat to caramelize properly. Position them on the lower third rack, giving the rising heat full opportunity to work its magic. Spread vegetables in a single layer and resist crowding—overcrowded pans steam rather than roast, producing limp vegetables instead of crispy-edged perfection.
Large roasts and whole birds occupy the lower third as well, particularly during initial cooking. The slower, gentler heat penetrates deeply without burning surfaces. Once the roast nears completion, moving it to the middle rack for the final 20 minutes promotes even browning all around.
Pies present a special challenge. The bottom crust needs sufficient heat to cook through and crisp up, while the top requires enough exposure to brown properly. Start pies on the lower third rack for the first two-thirds of baking time, then move to the middle rack to finish. This ensures a crisp bottom and golden top crust.
Common Conventional Oven Problems and Solutions
Even reliable conventional ovens develop issues over time. Recognizing common problems and understanding basic troubleshooting saves money on service calls and prevents cooking disasters.
Temperature accuracy problems plague many aging ovens. If baked goods consistently come out under or overdone despite following recipes precisely, suspect calibration drift. Most ovens include calibration adjustments accessible through the control panel. Consult your manual for the specific procedure—it typically involves pressing certain button combinations and adjusting up or down in 5-degree increments.
Uneven heating manifests as cookies browning more on one side or casseroles cooking faster in certain spots. This often indicates a failing heating element. Electric ovens have two visible elements that should glow bright red when active. If one element glows dimly or not at all, replacement is necessary. Gas ovens showing uneven heating might have clogged burner ports requiring cleaning.
The oven not heating at all could stem from multiple causes. Check the obvious first—make sure it’s plugged in and the circuit breaker hasn’t tripped. For gas ovens, verify the gas supply is on. If these basics check out, you’re likely dealing with a failed heating element, faulty thermostat, or broken igniter. These repairs typically require professional service.
Strange odors during preheating usually aren’t cause for alarm, especially in new ovens. Manufacturers apply protective coatings that burn off during initial uses. Run the oven empty at 400°F for 30 to 60 minutes in a well-ventilated kitchen to eliminate these smells. Persistent odors after several uses might indicate spilled food residue burning on hidden surfaces—a thorough cleaning usually resolves this.
The door not sealing properly lets heat escape and forces the oven to work harder maintaining temperature. Inspect the rubber gasket around the door opening for gaps, tears, or compression. Replacing a worn gasket is straightforward and inexpensive, dramatically improving efficiency.
Cleaning and Maintaining Your Conventional Oven
Regular maintenance keeps conventional ovens running efficiently for decades. These simple practices prevent problems and preserve performance without requiring significant time or expertise.
Wipe up spills immediately after the oven cools. Fresh spills clean easily with a damp cloth, while burned-on messes require aggressive scrubbing or harsh chemicals. This quick habit prevents 90% of deep-cleaning challenges. Keep a spray bottle of vinegar and water solution handy for quick cleanups.
For routine cleaning, remove racks and wash them in hot soapy water. Large sinks work best, but bathtubs accommodate oversized racks if necessary. While racks soak, spray the oven interior with a homemade paste of baking soda and water. Let this sit for several hours or overnight, then wipe clean with a damp cloth. The gentle abrasion removes grime without damaging surfaces.
Avoid commercial oven cleaners containing harsh chemicals if possible. These products work quickly but emit toxic fumes and can damage oven components if they seep into electrical connections or sensors. If you must use chemical cleaners, ensure excellent ventilation and protect surrounding surfaces from overspray.
Self-cleaning cycles offer thorough cleaning but use significant energy and stress oven components. Reserve self-cleaning for truly grimy situations requiring deep intervention, not routine maintenance. Never use self-cleaning immediately before important cooking events—the process can take three to five hours, and mechanical failures occasionally occur during the intense heat cycle.
Inspect the door seal quarterly by visually checking for damage and running your hand along the gasket feeling for gaps. Replace worn seals promptly to maintain efficiency. Check that the door closes securely without requiring excessive force—misaligned doors often indicate worn hinges needing adjustment or replacement.
Safety Tips Every Conventional Oven Owner Should Know
Conventional ovens are remarkably safe when used properly, but understanding potential hazards prevents accidents. These straightforward guidelines protect your family and home.
Never leave cooking unattended, particularly when baking at temperatures above 400°F or using the broiler. Grease fires can ignite in seconds, and unattended ovens cause thousands of house fires annually. If you must leave the kitchen, set a timer you’ll hear throughout your home reminding you to return.
Keep flammable materials away from the oven—this includes potholders, towels, wooden utensils, cookbooks, and packaging materials. I’ve witnessed paper towels catch fire after falling onto a hot stovetop surface adjacent to the oven. Maintain a three-foot “kid-free zone” around operating ovens, and never store items in the oven when not in use.
Use proper oven mitts rated for high temperatures, not dish towels or inappropriate substitutes. Quality mitts protect your hands and wrists from burns when reaching deep into hot ovens. Silicone mitts offer excellent heat protection and grip, preventing dropped dishes that could cause serious injuries.
If a grease fire starts inside the oven, turn off the heat and keep the door closed. The enclosed space starves the fire of oxygen, causing it to extinguish itself. Opening the door feeds fresh oxygen to the flames, potentially causing them to flare dramatically. Never attempt to extinguish oven fires with water—use a fire extinguisher rated for grease fires if the fire doesn’t self-extinguish.
Ensure adequate ventilation when operating ovens. Gas ovens produce combustion byproducts including carbon monoxide. Run your range hood during cooking, or open windows to maintain fresh air circulation. Install carbon monoxide detectors near your kitchen for added safety.
Choosing Quality Conventional Oven Brands
Brand reputation matters when investing in a conventional oven expected to last 10 to 20 years. Research helps you avoid frustrating breakdowns and costly repairs while identifying manufacturers that stand behind their products. For a broader look at quality manufacturers, explore this comprehensive guide to oven brands.
Several manufacturers have earned stellar reputations for conventional oven reliability. Companies like GE produce affordable, durable ovens backed by extensive service networks. When something does go wrong, finding replacement parts and qualified technicians is straightforward.
Premium brands command higher prices but often justify the investment through superior build quality, precise temperature control, and longer lifespans. Professional-grade conventional ovens feature heavier-gauge materials, better insulation, and more accurate thermostats. These differences might seem minor until you’re baking delicate pastries requiring exact temperatures.
Consider warranty coverage carefully. Some manufacturers offer one-year basic warranties while others provide three to five years of comprehensive coverage. Extended warranties make sense for premium ovens given their higher repair costs. Read warranty terms thoroughly—many exclude certain components or require professional installation to remain valid.
Customer service quality varies dramatically between brands. Before purchasing, research how responsive companies are when problems arise. Online reviews reveal whether manufacturers honor warranties cheerfully or fight customers at every turn. Brands that stand behind their products earn loyal customers for good reason.
Conventional Ovens Versus Alternative Cooking Methods
The conventional oven faces increased competition from alternative cooking technologies, each offering distinct advantages. Understanding these alternatives helps you determine whether a conventional oven remains your best choice or if supplemental appliances make sense.
Countertop convection ovens provide some conventional oven benefits in compact, energy-efficient packages. They handle smaller cooking tasks—reheating leftovers, toasting bread, roasting vegetables for two—using significantly less energy than full-sized ovens. However, they can’t accommodate large roasts or multiple dish meals requiring substantial capacity.
Air fryers have exploded in popularity, promising crispy results with minimal oil. While they excel at specific tasks, they’re essentially small convection ovens with aggressive air circulation. They can’t replace conventional ovens for baking, braising, or cooking large quantities. If you’re considering whether an air fryer might complement your conventional oven, this guide on how to use air fryers offers practical insights.
Microwave ovens cook through electromagnetic radiation rather than traditional heat. They reheat leftovers efficiently and cook certain foods quickly, but they can’t brown surfaces or develop the complex flavors that result from conventional oven cooking. Microwaves complement rather than replace conventional ovens.
Slow cookers and Instant Pots offer hands-off cooking that conventional ovens can’t match. You can load ingredients in the morning and return home to finished dinner. However, they’re limited to specific cooking methods—primarily braising and steaming—and can’t deliver the crispy textures and caramelized surfaces conventional ovens excel at producing.
Understanding Conventional Oven Temperature Calibration
Accurate temperature control separates successful cooking from frustrating failures, yet many home cooks accept whatever temperature their oven claims without verification. Learning to calibrate conventional ovens ensures recipes turn out as intended.
Purchase an oven thermometer—they cost less than $10 and provide invaluable information. Hang one from the center rack and preheat your oven to 350°F. After the ready signal, wait an additional 10 minutes for full stabilization, then check the thermometer reading.
Compare the thermometer reading to your set temperature. Differences of 10 to 15 degrees are common and usually not problematic—simply compensate by adjusting your temperature settings accordingly. If your oven reads 25 degrees or more off target, calibration adjustment or professional service might be necessary.
Most conventional ovens include built-in calibration features accessible through control panel button combinations. Your owner’s manual provides specific instructions. Typically, you can adjust the displayed temperature up or down by 35 degrees in 5-degree increments. Make small adjustments and retest before making additional changes.
Temperature fluctuation is normal in conventional ovens due to their cycling heating elements. Expect variations of 10 to 20 degrees as elements turn on and off maintaining your set point. These fluctuations average out over time, producing acceptable results for most cooking tasks.
Older ovens might require thermostat replacement if calibration adjustments don’t resolve temperature issues. This repair requires professional service but significantly extends the oven’s useful life. Given that new ovens cost $500 to $2,000 or more, a $200 thermostat replacement represents excellent value.
Baking Perfect Results in Your Conventional Oven
Conventional ovens excel at baking when you understand their characteristics and adapt techniques accordingly. These proven strategies produce consistent, professional-quality results regardless of what you’re baking.
Invest in quality bakeware that promotes even heat distribution. Shiny aluminum pans reflect heat, while dark pans absorb it—dark pans produce browner bottoms and edges. Glass bakeware retains heat longer than metal, often requiring temperature reductions of 25 degrees. Understanding these differences helps you choose appropriate pans and adjust recipes accordingly.
Rotate baked goods halfway through cooking to compensate for conventional oven hot spots. This simple step eliminates unevenly browned cookies and cakes with one side higher than the other. Set a timer for the halfway point so you don’t forget—rotating truly makes a difference.
Avoid overcrowding the oven. Air needs space to circulate even in conventional ovens without forced convection. Leave at least two inches between pans and oven walls, and avoid placing pans directly above or below each other when possible. If you must use multiple racks simultaneously, stagger pan positions so they’re not aligned vertically.
Use the right pan size specified in recipes. Pan dimensions affect baking times and results dramatically. Batter spread too thin in oversized pans overcooks around edges before centers finish. Batter piled too high in undersized pans might not cook through even after extended baking. If you must substitute pan sizes, expect to adjust baking times and watch carefully for doneness cues.
Learn to recognize doneness without relying solely on times given in recipes. Every oven behaves slightly differently, and factors like ingredient temperatures and altitude affect baking. Check cakes for springy centers and pulling away from pan sides. Test cookies when edges brown and centers look slightly underdone—they continue cooking after removal from the oven.
Making Your Decision About Conventional Ovens
Conventional ovens remain highly relevant despite technological advances that promise faster, more efficient cooking. Their simplicity, reliability, and proven track record make them smart choices for many households. If you’re trying to choose an oven that fits your lifestyle, considering a conventional model makes perfect sense.
Budget-conscious buyers find exceptional value in conventional ovens. They cost less than convection models upfront and require less maintenance over their lifespans. Repair costs stay reasonable because parts are common and many fixes are straightforward enough for confident DIYers to handle.
Serious bakers often prefer conventional ovens despite convection’s advantages. The gentle, predictable heat patterns produce superior results for specific baked goods. Once you learn your oven’s quirks and hot spots, you can compensate easily and achieve consistent, professional-quality outcomes.
However, conventional ovens aren’t perfect solutions for everyone. Busy families cooking multiple dishes simultaneously might benefit from convection’s faster cooking and more even heat distribution. Energy-conscious consumers troubled by conventional ovens’ power consumption should explore efficient alternatives for appropriate tasks.
The ideal approach for many households involves strategic combinations. A conventional oven handles primary cooking duties—baking, roasting, braising—while supplemental appliances tackle specialized tasks. Perhaps a countertop convection oven for quick reheating, or an air fryer for crispy appetizers. This multi-appliance strategy maximizes flexibility without abandoning conventional oven benefits.
Understanding conventional oven fundamentals empowers you to cook confidently and make informed purchasing decisions. Whether you’re replacing an aging home oven or selecting features for a kitchen renovation, knowledge transforms the shopping experience from overwhelming to manageable. These workhorses have earned their place in modern kitchens through decades of reliable service, and they’re not going away anytime soon.