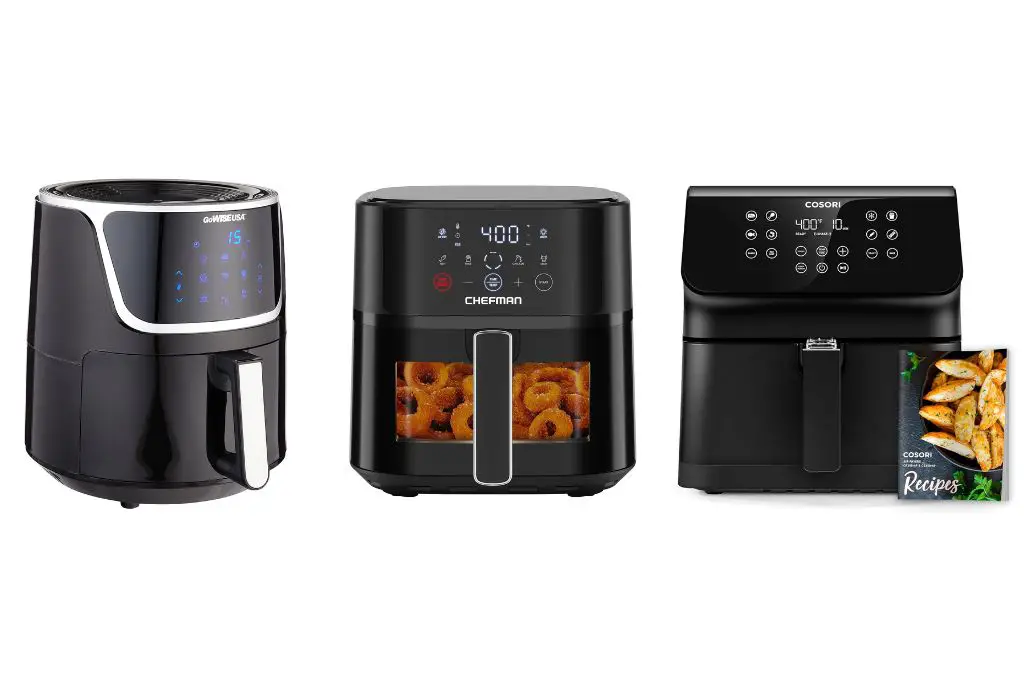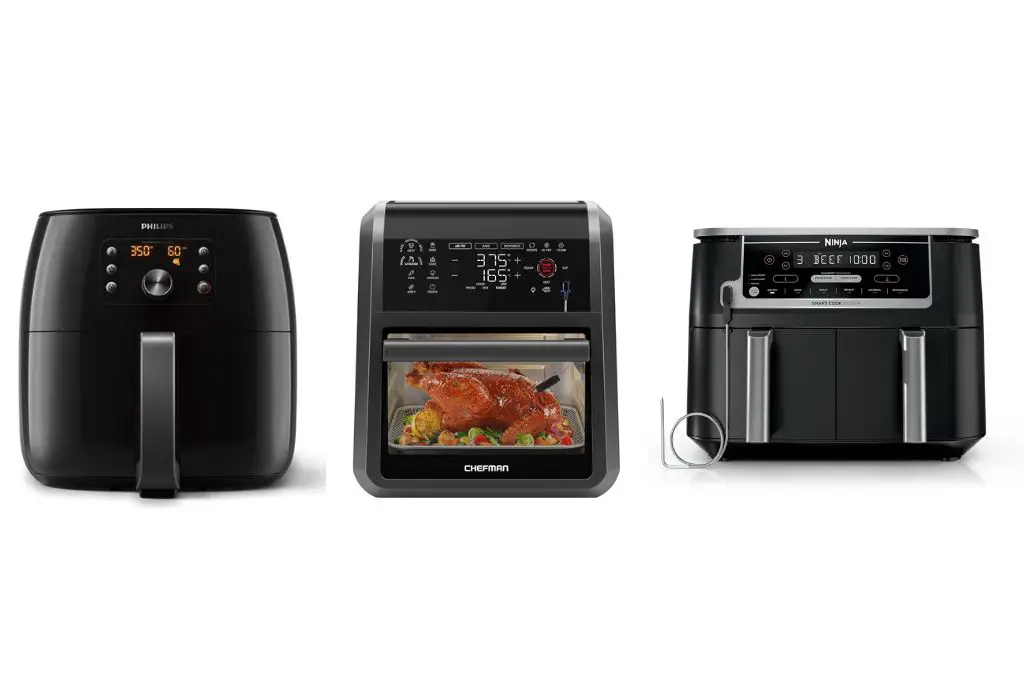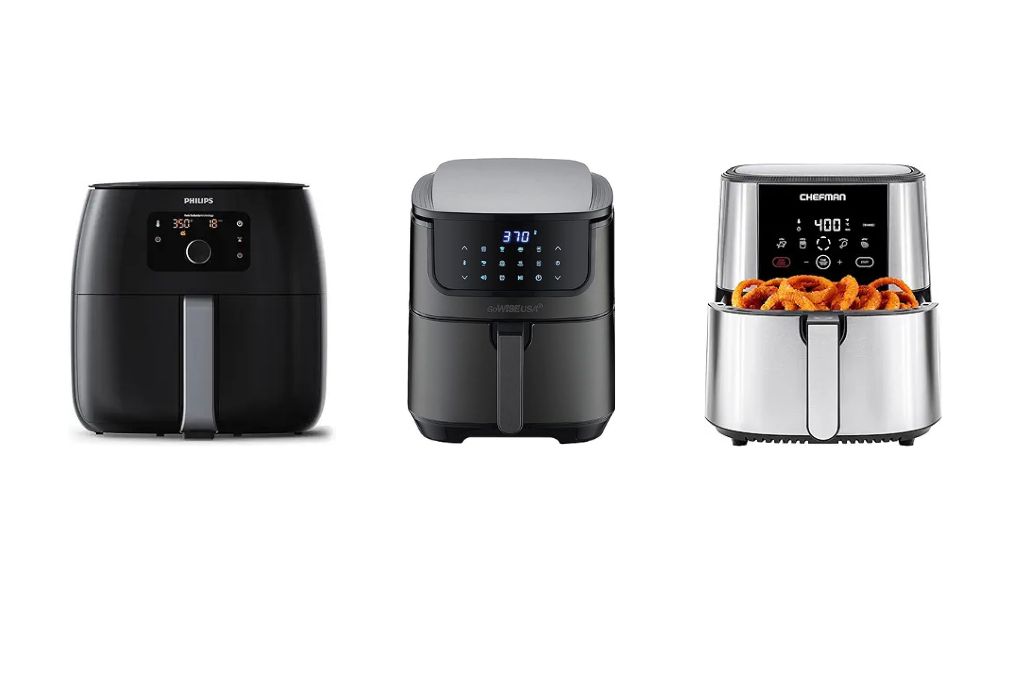
If you’ve recently purchased an air fryer or you’re thinking about getting one, you’re about to discover why millions of home cooks have fallen in love with this game-changing kitchen appliance. Air fryers have revolutionized the way we cook, offering a healthier alternative to traditional deep frying while delivering that irresistible crispy texture we all crave. Whether you’re eyeing one of the top-rated air fryers on the market or you’ve just unboxed your new countertop companion, this comprehensive guide will walk you through everything you need to know to become an air fryer expert.
Table of Contents for How To Use Air Fryer
Understanding How Your Air Fryer Actually Works
Before we dive into the practical steps, let’s quickly demystify what’s happening inside that sleek appliance sitting on your counter. An air fryer isn’t actually frying your food in the traditional sense—there’s no vat of bubbling oil involved. Instead, it uses rapid air circulation technology to cook your food. A heating element generates intense heat while a powerful fan circulates hot air around your food at high speed, creating that coveted crispy exterior while keeping the inside tender and juicy.
Think of it as a supercharged convection oven that fits on your countertop. The compact cooking chamber ensures that hot air envelops your food from all angles, cooking it evenly and quickly. This technology allows you to achieve results similar to deep frying but with up to 80% less oil. Pretty impressive, right?
Getting Started: Your First Time Using an Air Fryer
Unboxing and Initial Setup
When you first bring your air fryer home, resist the temptation to immediately start cooking. Take a few minutes to properly set it up for success. Remove all packaging materials, including any protective films or stickers from the basket and pan. Wash the removable parts—typically the basket and drip tray—with warm soapy water and dry them thoroughly. This removes any manufacturing residues and prepares your air fryer for cooking.
Find a permanent spot for your air fryer on your counter. Make sure there’s at least five inches of clearance on all sides to allow proper air circulation. Never place your air fryer directly against a wall or under cabinets, as the hot air exhaust could damage surfaces or create a fire hazard.
The Critical First Run
Here’s a step many people skip but shouldn’t: run your air fryer empty for about 10 minutes at 400°F before cooking any food. This “burn-off” cycle eliminates any manufacturing odors or residues. Don’t be alarmed if you notice a slight plastic smell during this first run—it’s completely normal and should dissipate after the initial use. Make sure your kitchen is well-ventilated during this process by opening a window or turning on your exhaust fan.
Mastering the Basic Operation
Loading Your Air Fryer Properly
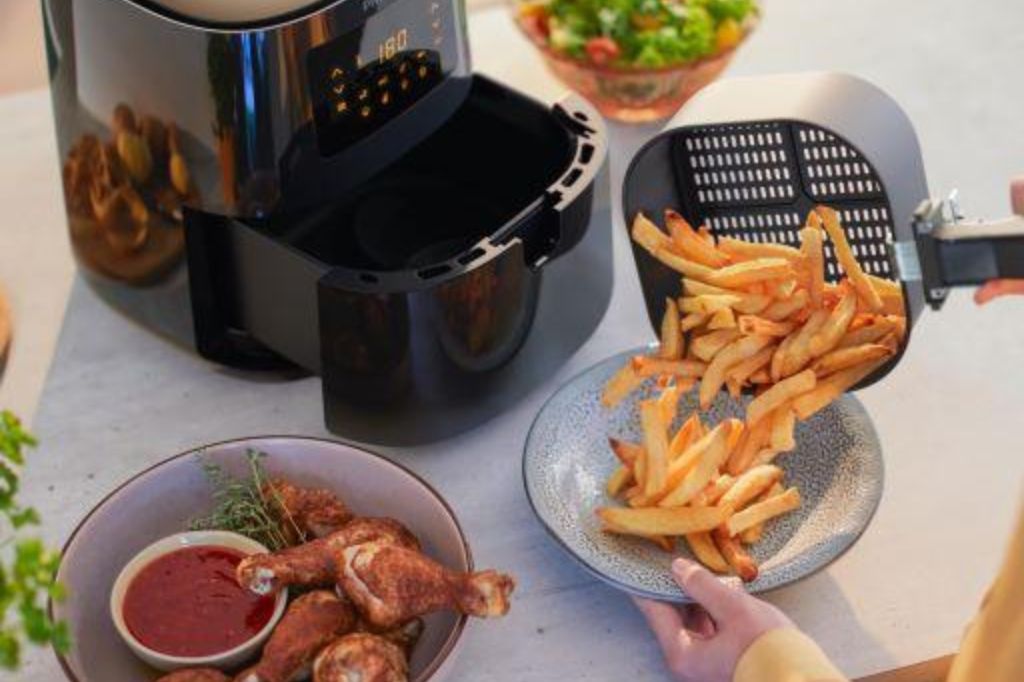
The way you load food into your air fryer basket significantly impacts your cooking results. The golden rule is simple: don’t overcrowd. Air needs to circulate freely around your food to create that crispy texture. If you pile too much food in the basket, you’ll end up with soggy, unevenly cooked results instead of the golden perfection you’re aiming for.
For optimal results, arrange food in a single layer whenever possible. If you’re cooking items of different sizes, place larger pieces toward the outside of the basket where heat tends to be more intense, and smaller pieces toward the center. When cooking foods that tend to fly around due to the powerful fan—like lightweight items such as kale chips or small fries—use an air fryer-safe rack or skewer to keep them in place.
Temperature and Time Settings Explained
Most air fryers have temperature ranges from 180°F to 400°F, giving you incredible versatility. As a general starting point, most foods cook well at 375°F to 400°F. If you’re adapting a traditional oven recipe for your air fryer, reduce the temperature by about 25°F and cut the cooking time by roughly 20-25%. Air fryers cook faster and more efficiently than conventional ovens, so checking your food a few minutes early is always a smart move.
Your air fryer’s control panel might look intimidating at first with all those buttons and preset programs, but it’s actually quite intuitive. Most models feature preset buttons for common foods like chicken, fish, or French fries. These presets are helpful starting points, but don’t be afraid to adjust them based on your preferences and the specific quantity of food you’re cooking.
The Importance of Preheating
Should you preheat your air fryer? The answer is usually yes, though it depends on what you’re cooking. Preheating for 3-5 minutes helps your food start cooking immediately at the right temperature, resulting in better browning and texture. This is especially important for foods where you want a crispy exterior, like frozen French fries or breaded chicken. However, for delicate items like fish or foods that cook very quickly, you might skip preheating to prevent overcooking.
Essential Air Fryer Techniques for Perfect Results
The Shake and Flip Method
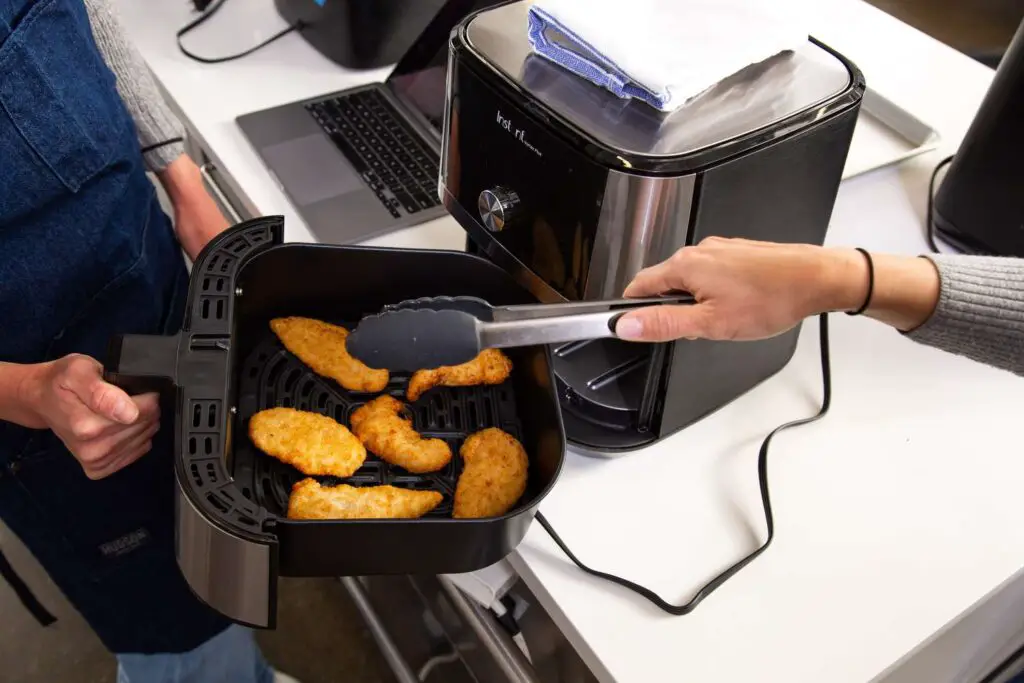
One technique that separates air fryer novices from experts is knowing when and how to shake or flip your food. For items like fries, chicken wings, or vegetable chunks, opening the basket halfway through cooking to shake or flip ensures even browning on all sides. Don’t worry—removing the basket automatically pauses the cooking process on most models, and you can safely shake things up before sliding it back in to resume cooking.
When flipping larger items like chicken breasts or pork chops, use silicone-tipped tongs to avoid scratching your basket’s nonstick coating. A quick spray of oil on the newly exposed side can enhance browning and crispiness.
Oil Usage: How Much and When
One of the biggest misconceptions about air fryers is that you don’t need any oil at all. While you certainly use far less oil than traditional frying methods, a light coating of oil dramatically improves your results. Oil helps conduct heat, promotes browning, prevents food from drying out, and adds flavor.
For most foods, a light spray or brush of oil is perfect. You can use an oil mister or spray bottle filled with your favorite cooking oil. Olive oil, avocado oil, and vegetable oil all work beautifully. Apply oil directly to your food rather than spraying the basket itself, as this can damage nonstick coatings over time. For naturally fatty foods like salmon or chicken thighs, you might not need any additional oil at all.
Understanding Cook Times for Different Foods
Different foods require different cooking times and temperatures. Fresh vegetables typically cook at 375°F for 10-15 minutes, depending on their density and how you’ve cut them. Frozen foods often come with air fryer instructions on the package, but as a rule of thumb, they cook well at 400°F for 12-20 minutes. Proteins like chicken breasts need about 15-20 minutes at 375°F, while thinner cuts of fish might only need 8-12 minutes at 350°F.
Invest in a good instant-read thermometer to check internal temperatures, especially for proteins. Chicken should reach 165°F, pork 145°F, and beef varies depending on your desired doneness. This ensures food safety and prevents overcooking.
Accessory Game: Maximizing Your Air Fryer’s Potential
Essential Accessories Worth Buying
While your air fryer comes ready to use out of the box, a few accessories can significantly expand its capabilities. Perforated parchment paper rounds or silicone liners make cleanup effortless while allowing air to circulate properly. Unlike regular parchment paper, these specialized versions have holes that permit airflow.
A small cake pan or baking dish that fits inside your air fryer basket opens up new possibilities for cooking casseroles, baked goods, and dishes with sauces. Metal or silicone muffin cups let you make perfectly portioned treats or mini frittatas. A grill pan accessory adds appealing sear marks to meats and vegetables, while a multi-level rack effectively doubles your cooking space for preparing complete meals.
Silicone tongs and a heat-resistant brush are practical tools you’ll reach for constantly. The tongs help you safely retrieve hot food without scratching your basket, while the brush is perfect for applying oil or sauces during cooking.
Common Mistakes to Avoid (And How to Fix Them)
Overcrowding the Basket
We mentioned this earlier, but it bears repeating because it’s the most common mistake new air fryer users make. When food pieces touch or overlap excessively, they steam rather than crisp. If you need to cook a large batch, do it in multiple smaller batches instead. Your patience will be rewarded with consistently crispy results.
Forgetting to Clean Properly
Buildup of grease and food particles doesn’t just create unpleasant odors—it can affect cooking performance and even pose a fire risk. After each use, once your air fryer has cooled completely, remove the basket and tray and wash them with warm soapy water. Most removable parts are dishwasher-safe, but check your manual to be sure. Wipe down the interior of the main unit with a damp cloth, paying special attention to the heating element where grease can accumulate.
Not Adjusting Recipes Appropriately
Just because a recipe worked in your oven doesn’t mean you can use the exact same time and temperature in your air fryer. Always reduce oven temperatures by about 25°F and start checking for doneness earlier than the recipe suggests. Keep a notebook or use your phone to jot down successful modifications so you can replicate them later.
Safety Tips You Shouldn’t Ignore
Air fryers are generally safe appliances, but following basic safety guidelines prevents accidents. Never use aerosol cooking sprays in your air fryer—the propellants can damage nonstick coatings and create buildup. Stick to pump spray bottles filled with regular cooking oil instead.
Always place your air fryer on a heat-resistant, stable surface away from anything that could obstruct airflow. The exterior gets hot during use, so keep it away from cabinet edges or walls. Never leave your air fryer unattended while cooking, especially when you’re first learning its quirks.
When removing the basket, be aware that it’s extremely hot. Always use oven mitts, and place the basket on a heat-resistant surface, not directly on your countertop. Steam can escape when you open the basket, so open it away from your face.
If your air fryer starts smoking during use, don’t panic. This usually happens when fat drips onto the heating element or when there’s residual grease from previous cooking sessions. Turn off the appliance, let it cool completely, and clean it thoroughly before using again. Adding a small amount of water to the drip tray can help prevent smoking when cooking fatty foods.
Cleaning and Maintenance for Longevity
Daily Cleaning Routine
After each use and once your air fryer has cooled completely, empty any crumbs or debris from the drawer and basket. Wash these removable parts with warm soapy water or place them in the dishwasher if they’re dishwasher-safe. For stubborn, baked-on food, soak the basket in hot soapy water for 10-15 minutes before scrubbing gently with a non-abrasive sponge.
Wipe down the interior of the main unit with a damp cloth, making sure to clean around the heating element. Check the manufacturer’s instructions—some models allow you to flip them upside down for easier cleaning access. Dry all parts thoroughly before reassembling to prevent moisture buildup.
Deep Cleaning When Necessary
Even with regular cleaning, your air fryer will eventually need a more thorough deep clean. Mix baking soda with a small amount of water to create a paste, then use this to scrub away stubborn grease deposits. For the heating element and fan area, use a soft brush to remove any accumulated debris. Some users find that running the air fryer at 400°F for a few minutes with lemon water in the bottom pan helps eliminate lingering odors.
According to Good Housekeeping’s air fryer cleaning guide, regular maintenance significantly extends your appliance’s lifespan and ensures consistent cooking performance.
Troubleshooting Common Air Fryer Issues
Food Not Getting Crispy
If your food comes out soggy instead of crispy, several factors might be at play. You might be overcrowding the basket, not using enough oil, or cooking at too low a temperature. Try cooking smaller batches, lightly spraying food with oil before and halfway through cooking, and increasing the temperature by 10-15 degrees. Pat foods dry before cooking, as excess moisture prevents crisping.
Uneven Cooking
Uneven results usually stem from improper food arrangement or forgetting to shake or flip during cooking. Make sure food pieces are similar in size and arranged in a single layer. Set a timer to remind yourself to shake or flip items halfway through the cooking time. If your air fryer consistently cooks unevenly despite these measures, it might have a hot spot—adjust food placement accordingly or contact the manufacturer.
Smoke or Strange Odors
Occasional light smoking when cooking fatty foods is normal, but excessive smoke or persistent strange odors indicate a problem. Excess grease on the heating element is the most common culprit. Regular cleaning solves this issue. If strange odors persist even after thorough cleaning, you might be cooking at too high a temperature for certain foods, or your food might be too close to the heating element.
If you’re experiencing persistent issues with your air fryer, resources like our guide on fixing a malfunctioning air fryer can help diagnose and resolve problems.
Expanding Your Air Fryer Skills
Beyond Frozen Foods
While air fryers excel at cooking frozen convenience foods, their true potential shines when you start experimenting with fresh ingredients. Roast vegetables to caramelized perfection in half the time of a conventional oven. Cook perfectly tender salmon with crispy skin. Make homemade chicken wings that rival your favorite restaurant’s version. The possibilities are virtually endless.
Try breakfast foods like bacon, hash browns, or even egg dishes in small baking pans. Reheat leftover pizza or French fries for results far superior to the microwave. Bake small batches of cookies, muffins, or even miniature cakes. Your air fryer can handle far more than you might initially think.
Recipe Adaptation Strategies
Learning to adapt your favorite recipes for the air fryer opens up a world of possibilities. Start by converting recipes you know well—this way you’ll recognize when results are off and can adjust accordingly. Remember the basic conversion principles: reduce temperature by 25°F, reduce cooking time by about 20-25%, and check for doneness earlier than you think necessary.
For wet-battered foods that wouldn’t work well in an air fryer, consider using a dry coating instead. Panko breadcrumbs, cornmeal, or crushed cornflakes create excellent crispy coatings when lightly sprayed with oil. Season your coatings generously, as air frying can mute flavors slightly compared to deep frying.
Making the Most of Your Air Fryer Investment
Energy Efficiency Benefits
One often-overlooked advantage of air fryers is their energy efficiency. They heat up quickly, cook faster than traditional ovens, and use significantly less energy. During hot summer months, they won’t heat up your kitchen the way a conventional oven would, keeping your air conditioning costs down. For small households or individuals, an air fryer might eliminate the need to use your full-size oven for many meals, resulting in noticeable energy savings over time.
Time-Saving Strategies
Maximize your air fryer’s efficiency by batch cooking and meal prepping. Cook larger quantities during prep sessions, then refrigerate or freeze portions for quick weeknight meals. Many air-fried foods reheat beautifully in the air fryer itself—just a few minutes at 350°F brings back that freshly-cooked texture.
Consider investing in a dual-basket air fryer if you frequently cook for more than two people or want to prepare multiple foods simultaneously at different temperatures. These models have revolutionized air frying for families, allowing you to cook a protein and vegetable side at the same time without flavor transfer.
Your Air Fryer Journey Starts Here
Learning to use an air fryer effectively takes practice, but the learning curve is refreshingly gentle. Start with simple recipes and familiar foods, then gradually expand your repertoire as you become comfortable with your appliance’s specific quirks and performance. Each air fryer model behaves slightly differently, so part of mastering yours involves getting to know its unique characteristics.
Don’t be discouraged by initial imperfect results. Even experienced cooks need time to adjust when learning a new cooking method. Keep experimenting, take notes on what works and what doesn’t, and soon you’ll be creating crispy, delicious meals with confidence.
The beauty of air fryers lies in their versatility and convenience. Whether you’re cooking for one or feeding a family, preparing a quick weeknight dinner or experimenting with new recipes, your air fryer can handle it all with minimal oil and maximum flavor. The compact size, quick cooking times, and easy cleanup make it an invaluable addition to any kitchen.
Remember that online communities and resources offer endless inspiration and troubleshooting help. The Kitchn’s air fryer basics guide provides additional tips and recipe ideas to expand your skills. Join air fryer enthusiast groups on social media to share your successes, learn from others’ experiences, and discover new favorite recipes.
With the information and techniques covered in this guide, you’re well-equipped to make the most of your air fryer. Embrace the experimentation process, enjoy the delicious results, and welcome this versatile appliance into your regular cooking routine. Your journey to crispy, healthier, faster home cooking starts now—so plug in that air fryer and get ready to discover what all the excitement is about!